Inspiration can come from anywhere – just ask the team at Westmount at Copper Mill, the best pet-friendly apartments in Houston. By passing along this information, we hope to inspire you with new ideas, projects, and goals, too.
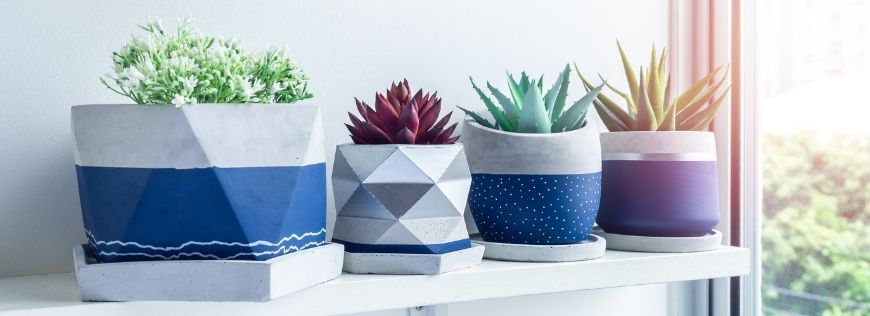
As the Houston weather continues to warm up, it’s the perfect season to get back into gardening. But, what is gardening, especially in an apartment community setting, without the perfect pots? These lightweight concrete planters, courtesy of Martha Stewart, are ideal for succulents or alpine plants, which have adapted to growing on rocky ledges and shallow soil. Since our climate is more humid, it’s important to create the perfect environment for your plant babies, and you can do so with this DIY project. In our apartment community, which boasts 2 bedroom apartments in Houston, we know the process to create these lightweight concrete planters can take some time, but the final product is definitely worth it.
Materials:
• Mask
• Gloves
• One-gallon peat
• One gallon "Portland" cement
• One-gallon perlite
• Large and small bins
• Water
• Lid
• Plastic bag
• Drill, optional
Instructions:
1. Make the cement mixture in a bin using one-gallon peat, one-gallon "Portland" cement, and one-gallon perlite. Wear a mask to avoid breathing dust and use gloves when mixing, as concrete can burn the hands.
2. Slowly add approximately 2 1/2 quarts of water as if you were making dough, being sure to add the last part of water slowly. Humidity can affect how much water you need, but the mixture should clump in your fist and hold its shape.
3. Transfer the mixture to a smaller bin. Use any container to shape. If you use metal, oil the interior to prevent binding. Next, shape the mixture into the bin. To avoid suction, use a flexible container. Pack it very tightly to the bottom and sides.
4. Place a lid on the bin to prevent the mixture from drying unevenly, which affects curing. Then, place it in a plastic bag.
5. Leave the mixture in the bin for two to three days to dry.
6. Remove the planter from the bin by turning it upside down, being careful not to drop it. Dust loose concrete from the top edges. Then, let this air dry for another week.
7. To create drainage, drill holes in the bottom. Fill the planter with a shallow-rooting arrangement.


